The Complete Guide to Raising Silkworms at Home
If you have ever watched a caterpillar spin a cocoon, you already know why raising silkworms at home can be so absorbing. It is a small undertaking that asks for patience and a gentle touch, and it rewards you with a front-row seat to one of nature's most elegant transformations. I have kept colonies of Bombyx mori for several seasons now, and I can tell you that the process never gets old. It also demands a few practical habits if you want the worms to stay healthy from egg to adult moth.
Before you order your first batch of silkworm eggs, it helps to understand what you are signing up for. The silkworm life cycle runs about six to eight weeks, depending on temperature and humidity. You will need a reliable source of fresh mulberry leaves or, if fresh leaves are hard to come by, a prepared silkworm chow. And you will need to clean the rearing container every day or two. That is the core of it. The rest is observation and adjustment.
Getting Started with Eggs and Hatching
The easiest way to begin is with silkworm eggs from a reputable breeder. Eggs arrive as tiny, pinhead-sized dots, often pale yellow or greyish. They are surprisingly tough, but they need a gentle warmth to trigger egg hatching. I keep mine in a small petri dish on a windowsill that gets indirect morning light, at about 24 to 28 °C. Hatching usually happens within a week or two. The newborn larvae are dark and barely visible, smaller than an ant. Do not handle them directly for the first few days. Instead, use a soft brush or a leaf to move them.
The first meal is critical. Newly hatched larvae need tender, young mulberry leaves. If you have a mulberry tree in your garden, you are lucky. If not, you can buy leaves online or grow your own morus alba in a pot. The leaves must be dry when you offer them. Wet leaves can cause digestive problems. I pick leaves in the morning, rinse them, pat them dry with a paper towel, and store them in a plastic bag in the fridge. That method of leaf storage keeps leaves fresh for up to a week. Before feeding, I let the leaves come to room temperature and check for condensation.
Feeding and Growth Through the Larval Stage
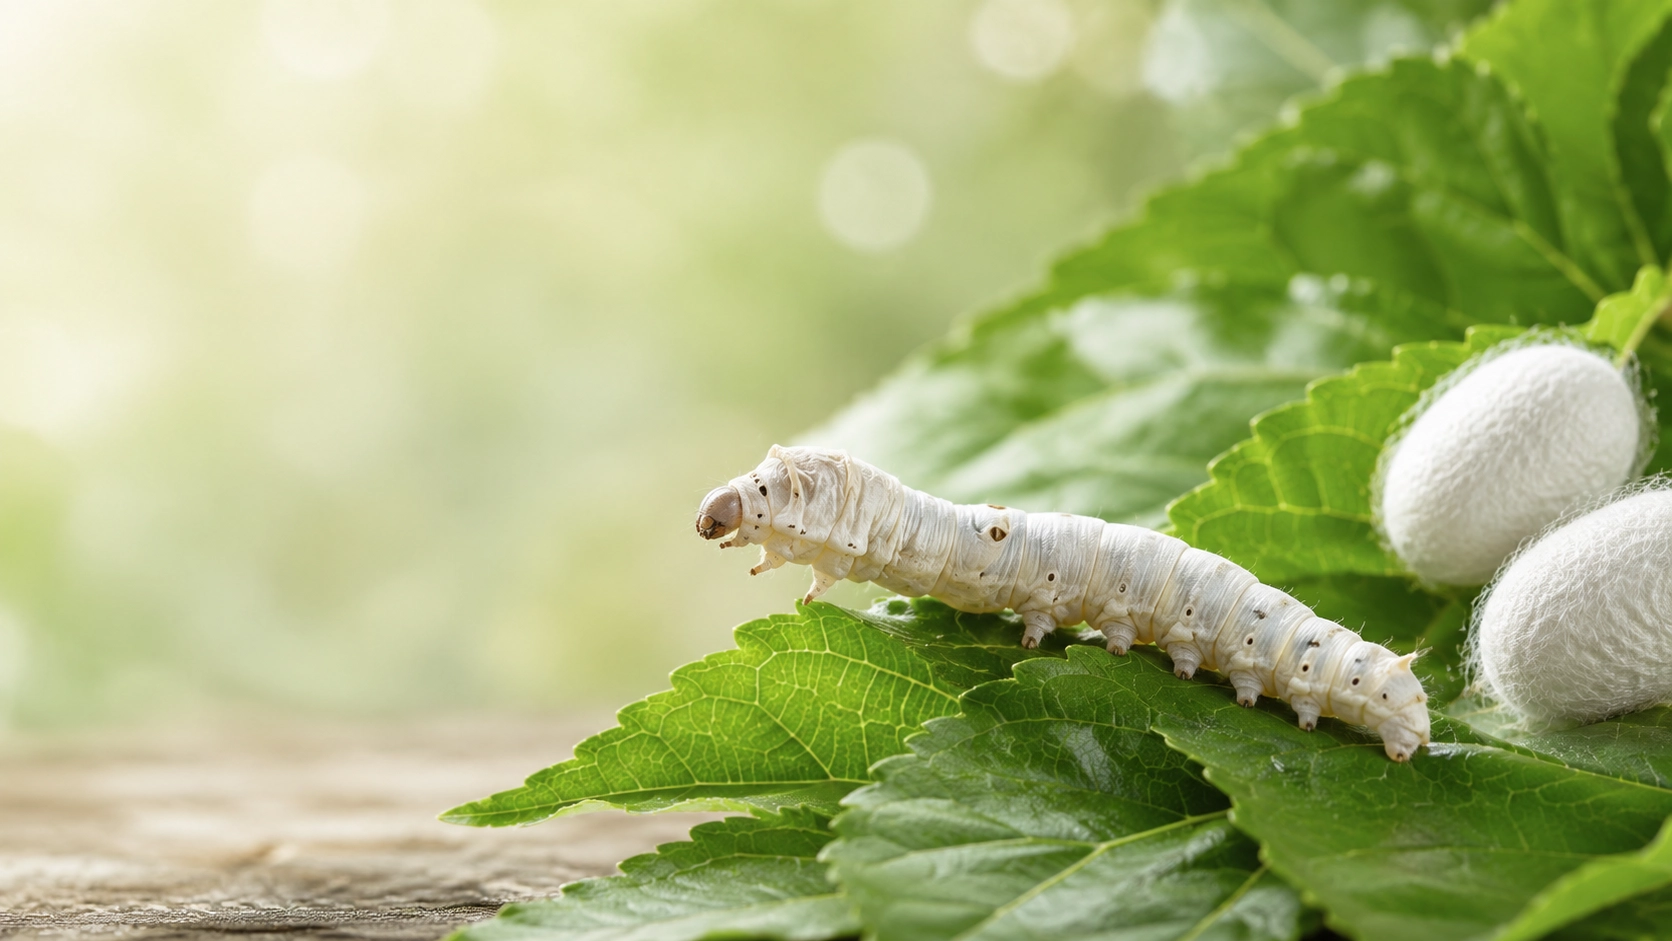
The larval stage is where most of the work happens. For the first three weeks, the caterpillars eat constantly and grow quickly. They moult four times, shedding their old skin to accommodate a larger body. Each moult leaves them inactive for about a day. Do not disturb them during moulting. Just keep fresh leaves nearby, and they will resume eating on their own.
By the fourth instar, the worms are thick, pale, and about as long as your finger. They produce a surprising amount of frass - that is the polite term for their droppings. I line the rearing tray with newspaper or a sheet of cardboard, which I replace daily. This is the silkworm bedding. Some people use fine mesh or paper towels, but I find that newspaper works well and is easy to compost afterward. Clean bedding reduces the risk of silkworm diseases, especially if you keep the tray in a warm room. High humidity and leftover food scraps can encourage mould and bacterial growth. If you see a worm that stops moving, turns dark, or shrivels, remove it immediately to protect the rest of the colony.
If you cannot get fresh mulberry leaves consistently, silkworm chow is a good backup. It is a dry powder made from mulberry leaf meal, soy flour, and a few stabilisers. You mix it with boiling water, let it cool, and slice it into blocks. The worms eat it readily, though they seem to grow slightly slower than on fresh leaves. I use chow during winter months when my mulberry tree is bare. The main drawback is that chow spoils quickly at room temperature, so you have to change it every day and scrub the container to prevent sour smells.
Preparing for the Cocoon
When the larvae reach full size, they stop eating and start wandering. That is your cue to provide something for them to spin on. In nature, Bombyx mori attaches its cocoon to twigs or the corners of its container. At home, I use a simple cardboard frame with egg-crate dividers or a bundle of dry straw. The worms need a vertical surface and a bit of space between them. Crowding leads to tangled silk and deformed cocoons.
The spinning process takes about three days. The worm moves its head in a figure-eight pattern, extruding a single continuous silk fiber that hardens on contact with air. Inside the cocoon, the larva transforms into a pupa. This stage lasts about two weeks. If you are raising silkworms for hobby, you can leave the cocoons alone until the adult moth emerges. If you are interested in sericulture and want to harvest the silk, you have to stop the metamorphosis by boiling or drying the cocoons before the moth chews its way out. That is a personal choice. I usually let mine emerge because I enjoy seeing the moths mate and lay eggs for the next generation.
Harvesting and Caring for Adults
Cocoon harvesting is straightforward. Once the cocoons are firm and the worm inside has pupated, you can cut them from the frame. Handle them gently; a crushed pupa will not survive. If you plan to keep the silk intact, store the cocoons in a dry, ventilated box. For breeding, leave them in a mesh cage so the emerging moths can climb and dry their wings.
Adult Bombyx mori moths are a surprise to many beginners. They cannot fly. They do not eat. Their only purpose is to mate and lay eggs. The female releases a pheromone, and the male finds her by scent. After mating, the female deposits hundreds of tiny eggs on a piece of paper or the side of the cage. I use a small piece of cardboard. Once she finishes laying, she dies within a few days. The eggs will remain viable for weeks if kept cool, but for the best hatching rate, store them in the refrigerator until you are ready to start the next cycle.
Common Pitfalls in Hand-Rearing
Indoor breeding sounds simple, but a few mistakes can wipe out a colony. Overcrowding is the most common one. Worms need air circulation and personal space. I keep no more than about fifty larvae in a container that is 30 by 40 centimetres. Another mistake is feeding leaves that are too old or too tough. The worms prefer the topmost, youngest leaves of the mulberry tree. Older leaves have less moisture and tougher veins, which the small larvae cannot chew. If you rely on purchased leaves, check for pesticide residue. Even a trace can kill the entire batch within hours.
Temperature swings are another risk. The ideal range for the larval stage is 24 to 28 °C. Below 18 °C, growth slows dramatically. Above 32 °C, the worms become restless and may stop feeding. I keep the rearing tray in a room that stays stable, away from drafts and direct sunlight. A simple thermometer helps.
Silkworm diseases are rare if you keep things clean, but they do happen. The most common is flacherie, a viral infection that makes the worm limp and dark. Another is muscardine, a fungal disease that covers the worm in white spores. Both spread fast. The best prevention is removing sick individuals early and disinfecting the container between batches with a mild bleach solution (one part bleach to nine parts water). Rinse thoroughly and dry before introducing new eggs.
Why It Is Worth the Effort
Raising silkworms at home connects you to a practice that humans have refined for thousands of years. Sericulture is one of the oldest agricultural crafts, and when you do it yourself, you appreciate the care that goes into every metre of silk. But even if you never harvest a single thread, the experience of watching the full silkworm life cycle is satisfying. The larvae grow visibly each day. The cocoons form in neat, golden or white ovals. The moths emerge, mate, and leave eggs for the next round. It is a closed loop, and you are the steward.

If you are thinking about starting, I would say go ahead. Pick a small batch of silkworm eggs, find a mulberry tree or order some chow, and set up a clean container. The first few days will feel slow. Then the worms start eating, and suddenly you are checking them twice a day. That is the rhythm of raising silkworms at home. It is not complicated, but it is alive, and that makes it interesting in a way that few indoor hobbies are.
And once you have done it once, you will probably want to do it again. The cycle repeats, and each time you learn a little more. I still keep notes on hatching dates, leaf quality, and room temperature. Those details matter more than you think. So start small, watch closely, and let the worms teach you what they need.